Creating a Flow
This guide walks you through building your first flow, from creating it to activating it.
Step 1: Create a New Flow
Go to the Flows page and click New Flow. You will be asked to:
- Enter a name for your flow
- Choose to create a new table or use an existing one (or skip the table entirely)
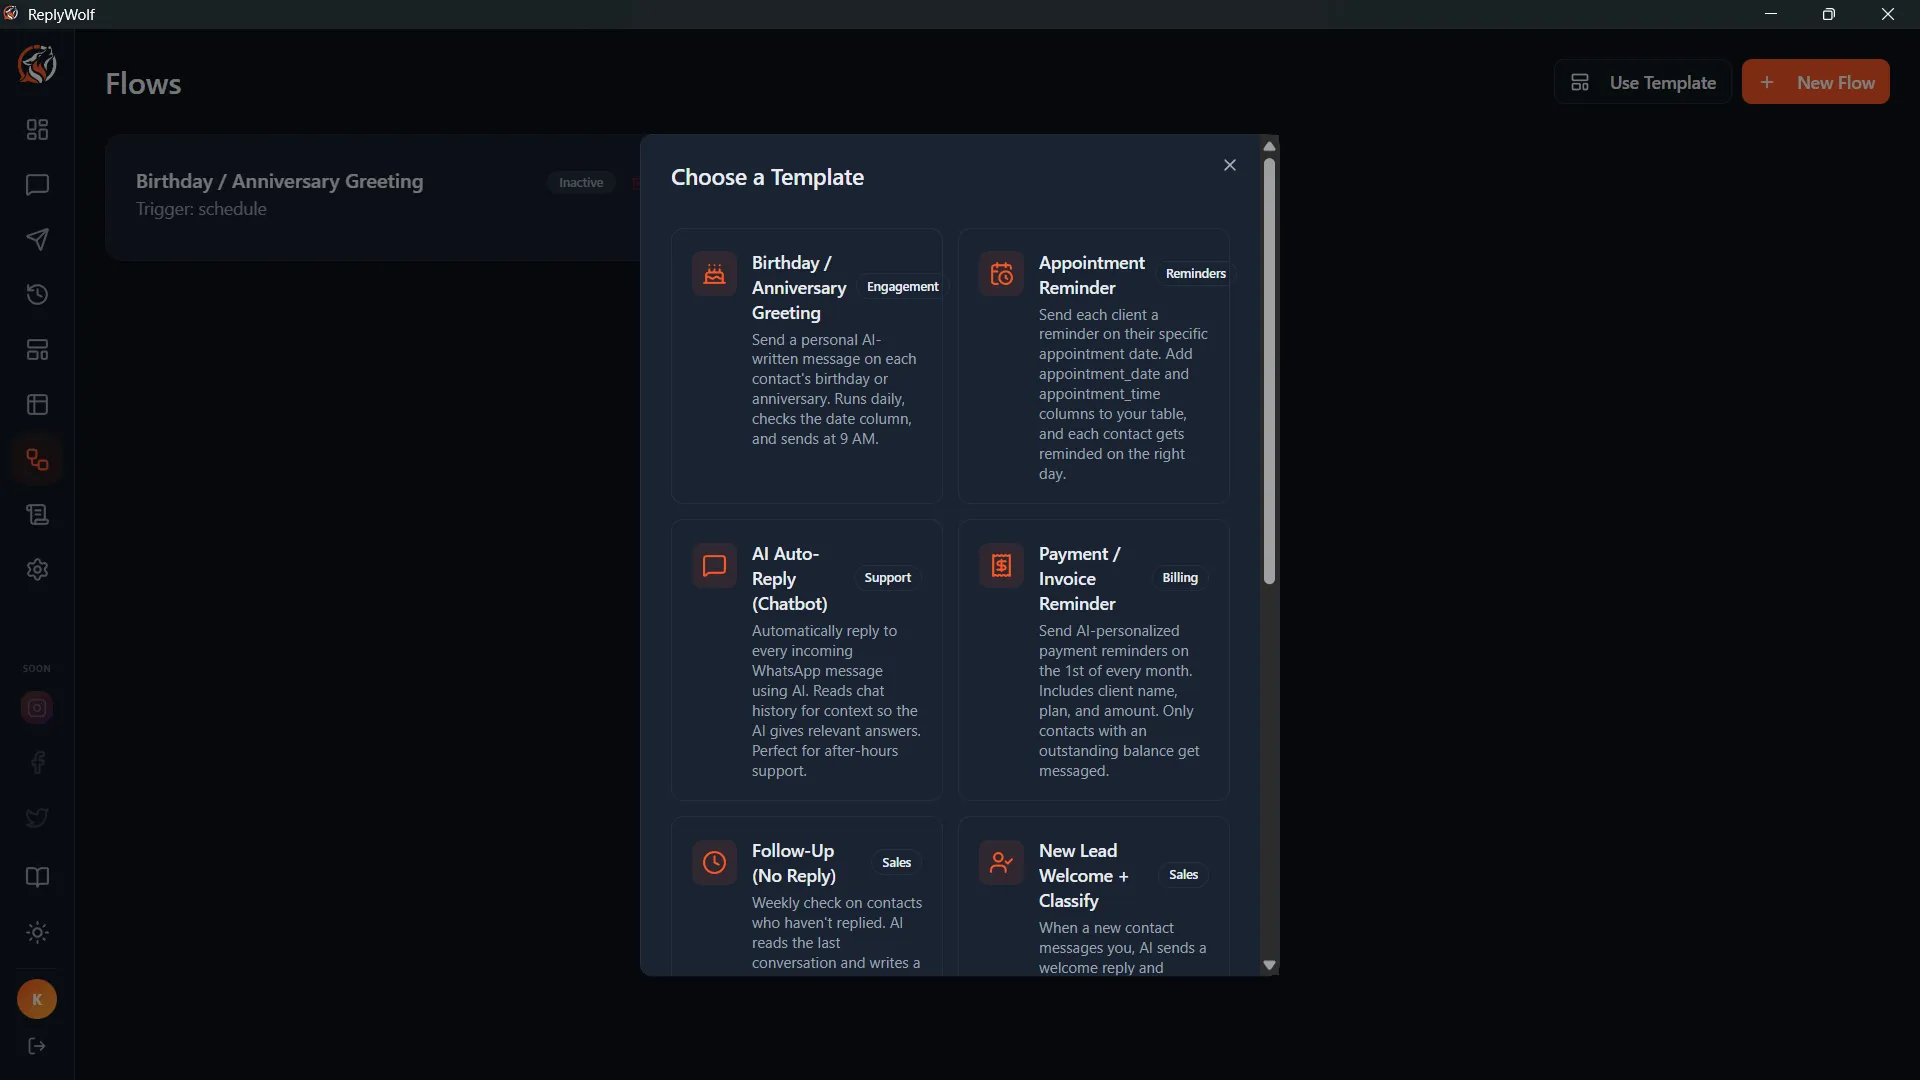
Alternatively, click From Template to start from one of the 10 pre-built templates. Templates give you a working flow with suggested table columns -- you can customize everything after creation. See Flow Templates for the full list.
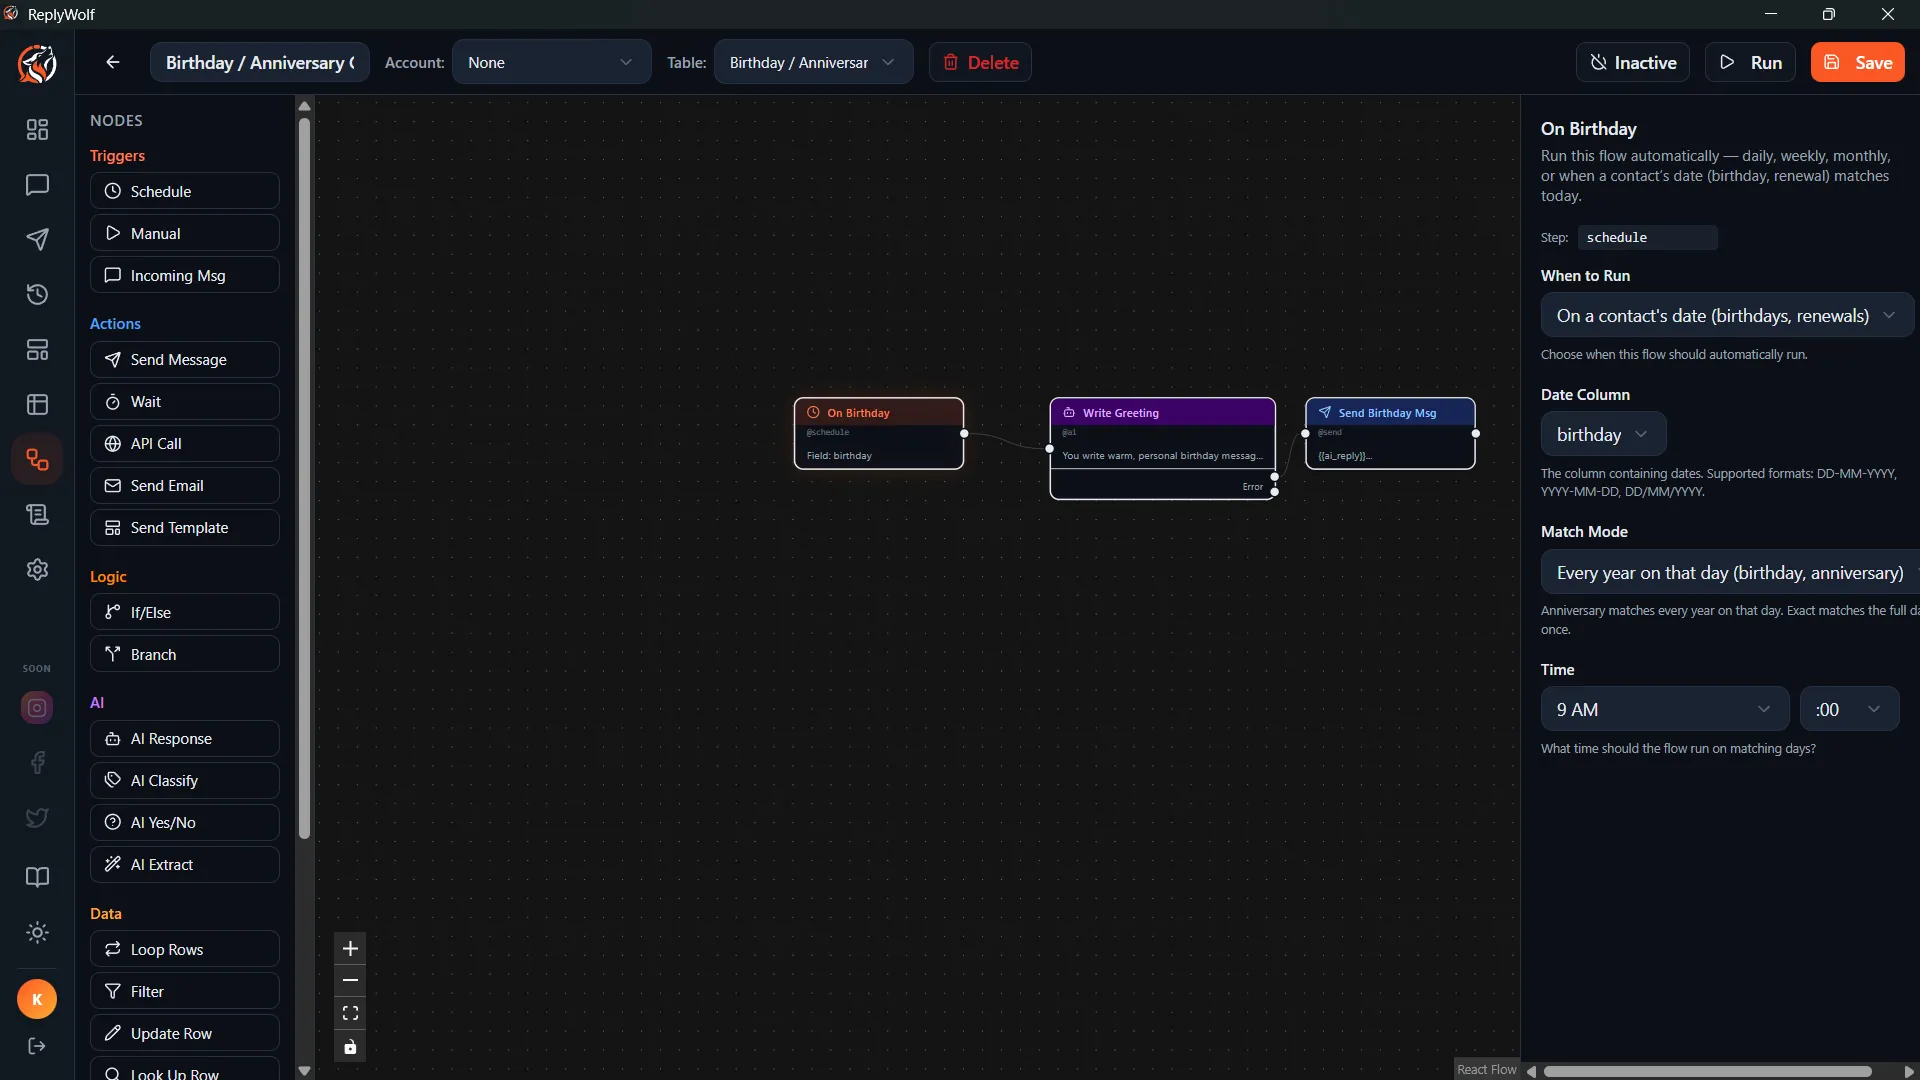
Step 2: Get to Know the Editor
The flow editor has three main areas:
- Node Palette (left panel) -- Lists all available node types, organized by category. This is where you pick the building blocks for your flow.
- Canvas (center) -- The main workspace where you arrange and connect your nodes.
- Config Panel (right side) -- Appears when you select a node. This is where you configure that node's settings (prompts, message text, conditions, etc.).
Step 3: Select Your Account and Table
At the top of the editor, use the dropdown menus to select:
- WhatsApp Account -- Which connected account this flow sends messages from. Required before you can activate the flow.
- Table -- Which table this flow reads and writes data to. Required for flows that loop over contacts, filter rows, or use contact fields.
Step 4: Add Nodes
Drag nodes from the palette on the left and drop them onto the canvas. Every flow needs at least one trigger node to define what starts it.
A typical flow might look like:
- A trigger (Schedule, Manual, or Incoming Message)
- One or more data or AI nodes to process information
- An action node to send a message or make an API call
Step 5: Connect Nodes
Connect nodes by dragging from one node's output handle (the small circle on the right or bottom of a node) to another node's input handle (the small circle on the left or top).
The connections define the order your flow runs in. Some nodes have multiple output handles -- for example, an AI Yes/No node has a "true" handle and a "false" handle, letting you branch your flow based on the AI's answer.

Step 6: Configure Nodes
Click any node on the canvas to open its configuration panel on the right side. Each node type has different settings:
- Send Message: Set the message body, choose a phone field, optionally attach media
- AI Response: Write your system prompt and user prompt template
- Filter: Define conditions to match contacts
- Schedule Trigger: Set the frequency (daily, weekly, monthly) or a date field to watch
Use {{variables}} in your text fields to insert dynamic values. See Variables & Template Strings for details.
Step 7: Save Your Flow
Click Save to save your flow. The editor runs validation before saving and will warn you about issues like:
- Missing trigger node
- Disconnected nodes that are not reachable from the trigger
- Empty message bodies
- Missing conditions on filter or if/else nodes
- No WhatsApp account selected (when Send Message nodes are present)
- No table selected (when Loop or Look Up nodes are present)
- Cycles in the flow (connections that would cause infinite loops)
Warnings will not prevent saving, but errors (like cycles) will.
Step 8: Activate the Flow
Toggle the Active switch to enable automatic execution. Once active:
- Schedule triggers are checked every 60 seconds by the built-in scheduler.
- Incoming message triggers fire immediately when a matching message arrives.
- Manual triggers still require you to click "Run Now."
You must have a WhatsApp account selected before activating.
Testing Your Flow
Run Now
Click Run Now to execute the flow immediately, regardless of its trigger type. This is useful for testing scheduled flows without waiting for the next scheduled time.
Tips
- Start simple. Build a two- or three-node flow first, test it, then add complexity.
- Use the Note node to leave yourself reminders about what different parts of the flow do.
- Check the execution logs after each run to see exactly what happened at every step.
- Templates are a great starting point -- pick one close to what you need and modify it.