Connecting WhatsApp
ReplyWolf supports two ways to connect a WhatsApp account. You can use one or both methods, and you can connect multiple accounts at the same time.
Connection Methods at a Glance
| QR Code Login | Cloud API (Business) -- BETA | |
|---|---|---|
| Best for | Personal WhatsApp | WhatsApp Business API |
| Setup | Scan a QR code | Enter API credentials from Meta |
| Send text and media | Yes | Yes |
| Receive messages | Yes | Yes (requires webhook setup) |
| Auto-reply flows | Yes | Yes |
| Template messages | No | Yes |
| Requires Meta Business account | No | Yes |
Method 1: QR Code Login
This is the easiest way to get started. It connects your personal WhatsApp account by scanning a QR code, similar to WhatsApp Web.
Steps
- Open the Messages page from the sidebar.
- In the accounts panel on the left, click the + button.
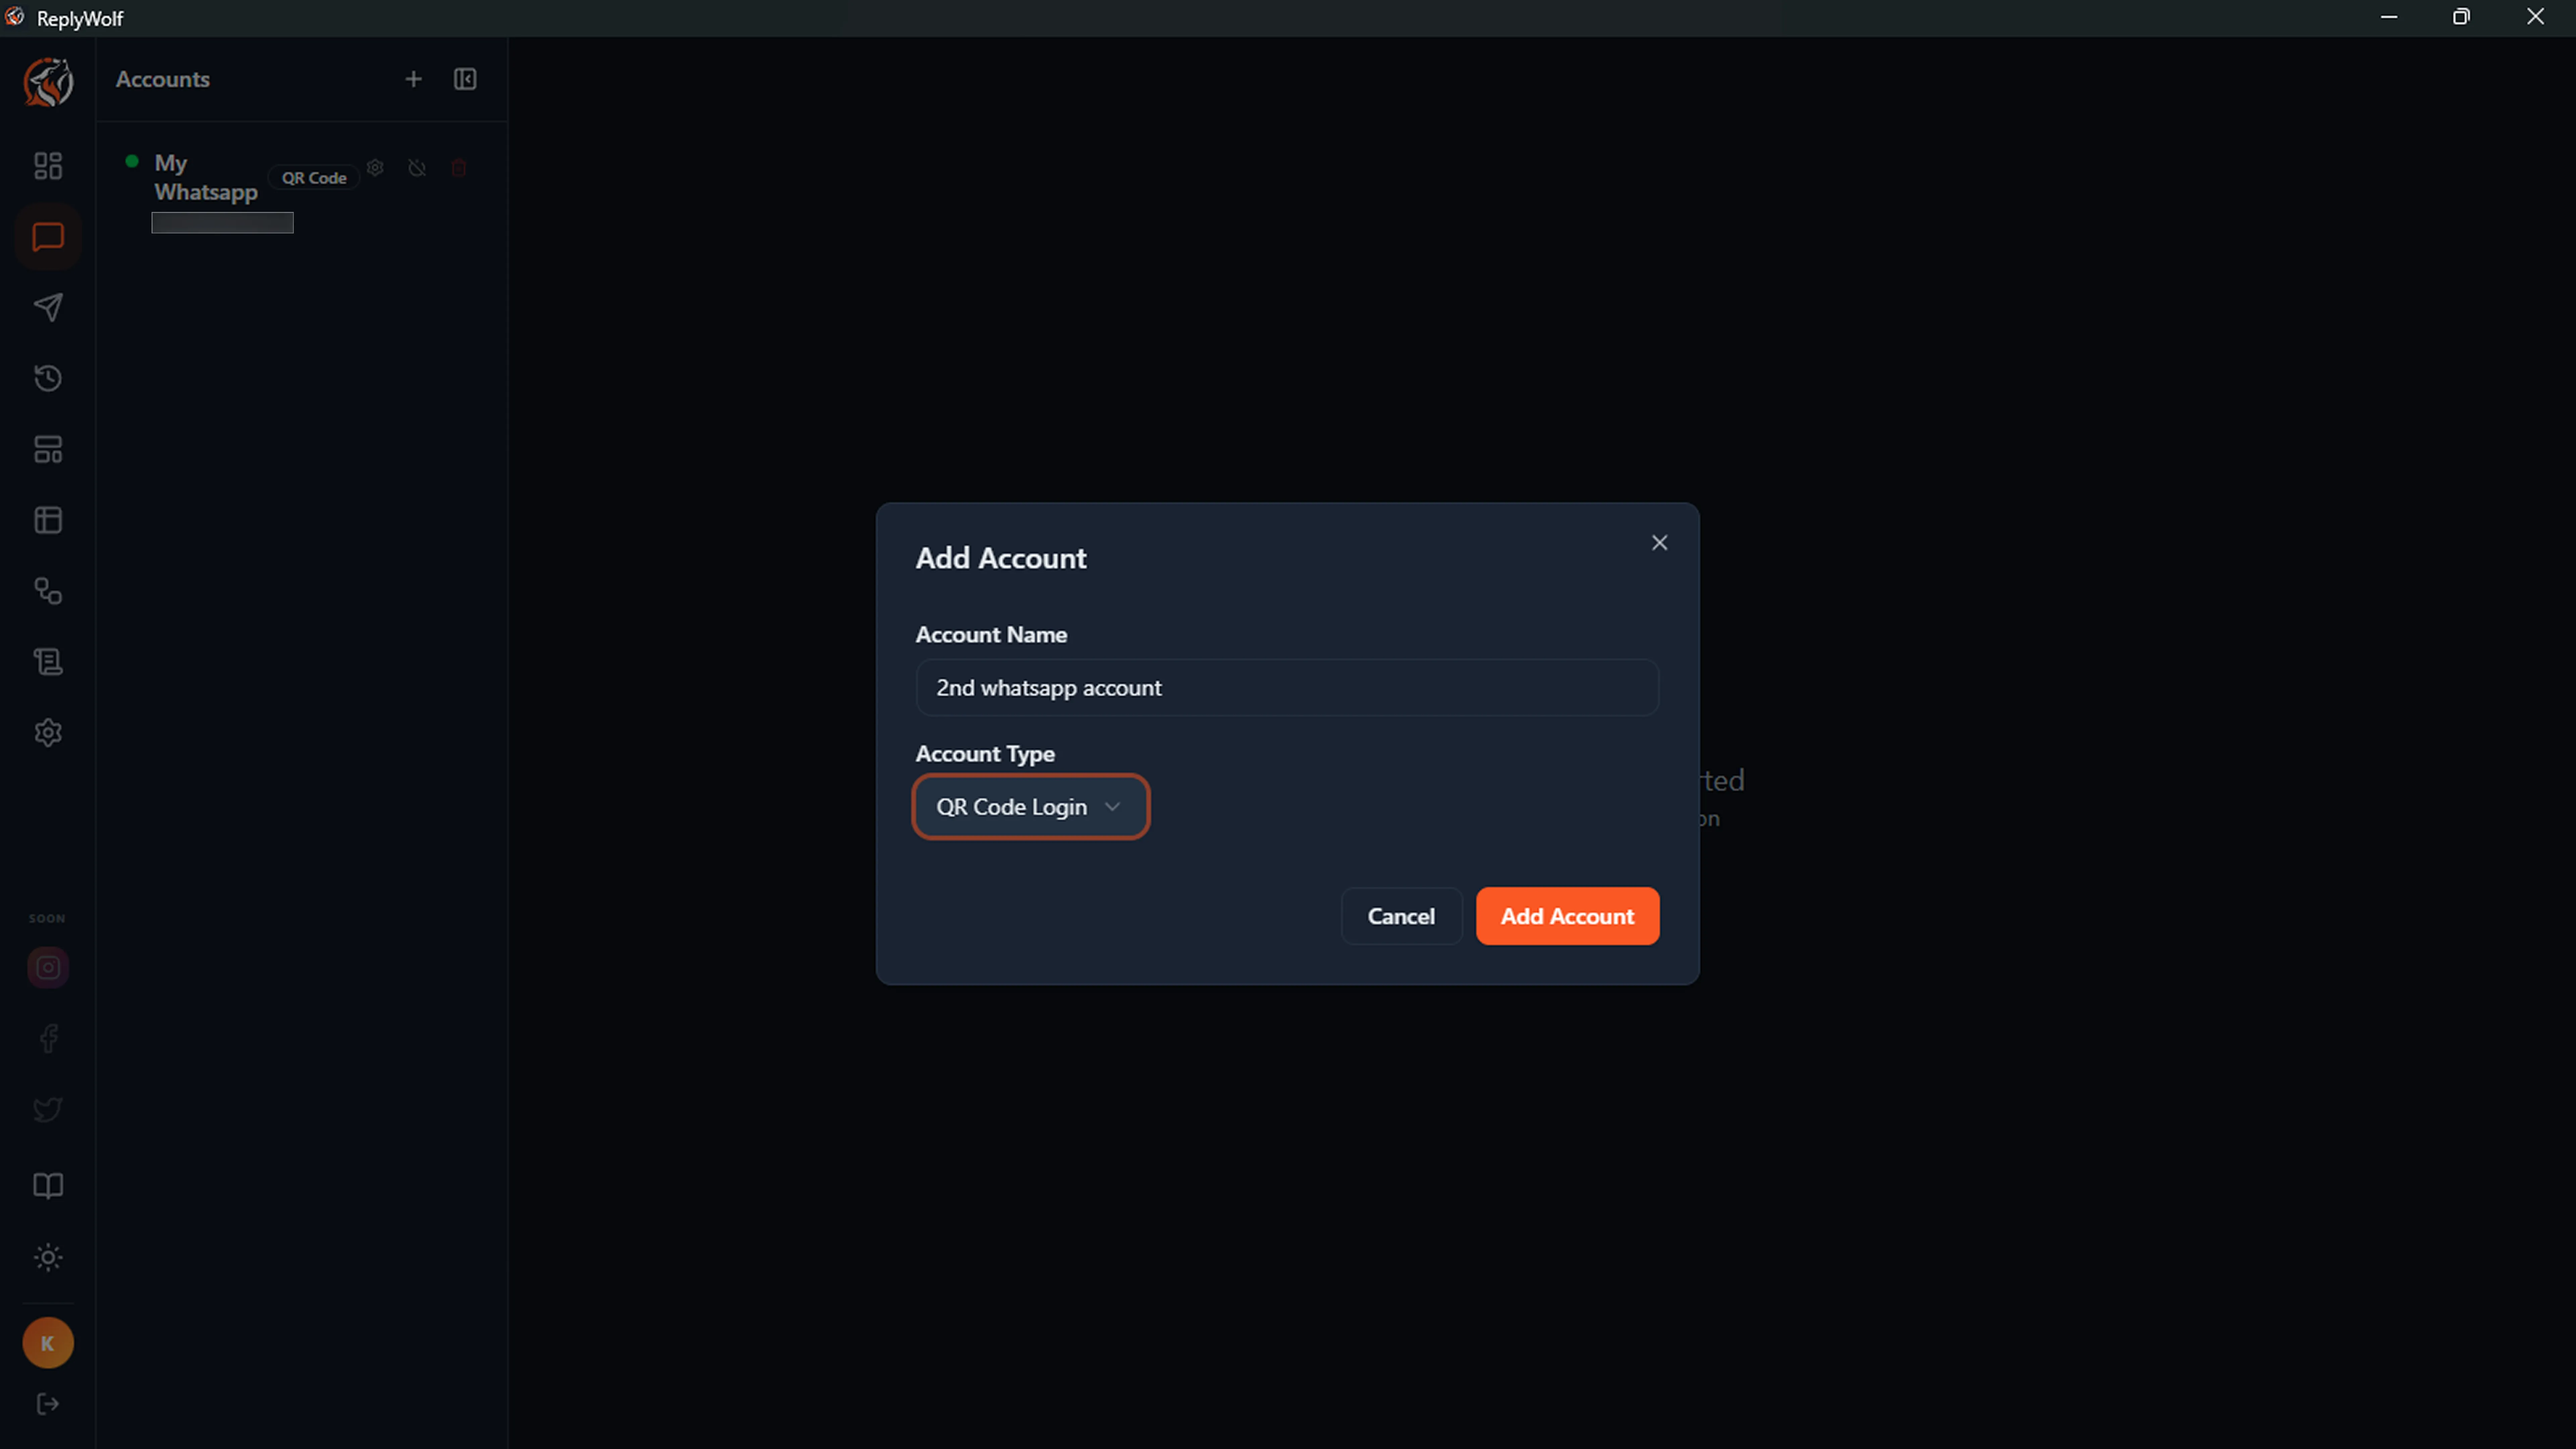
- In the Add Account dialog:
- Enter a name for this account (for example, "My WhatsApp").
- Set the Account Type to QR Code Login.
- Click Add Account.
- A QR code will appear on screen.
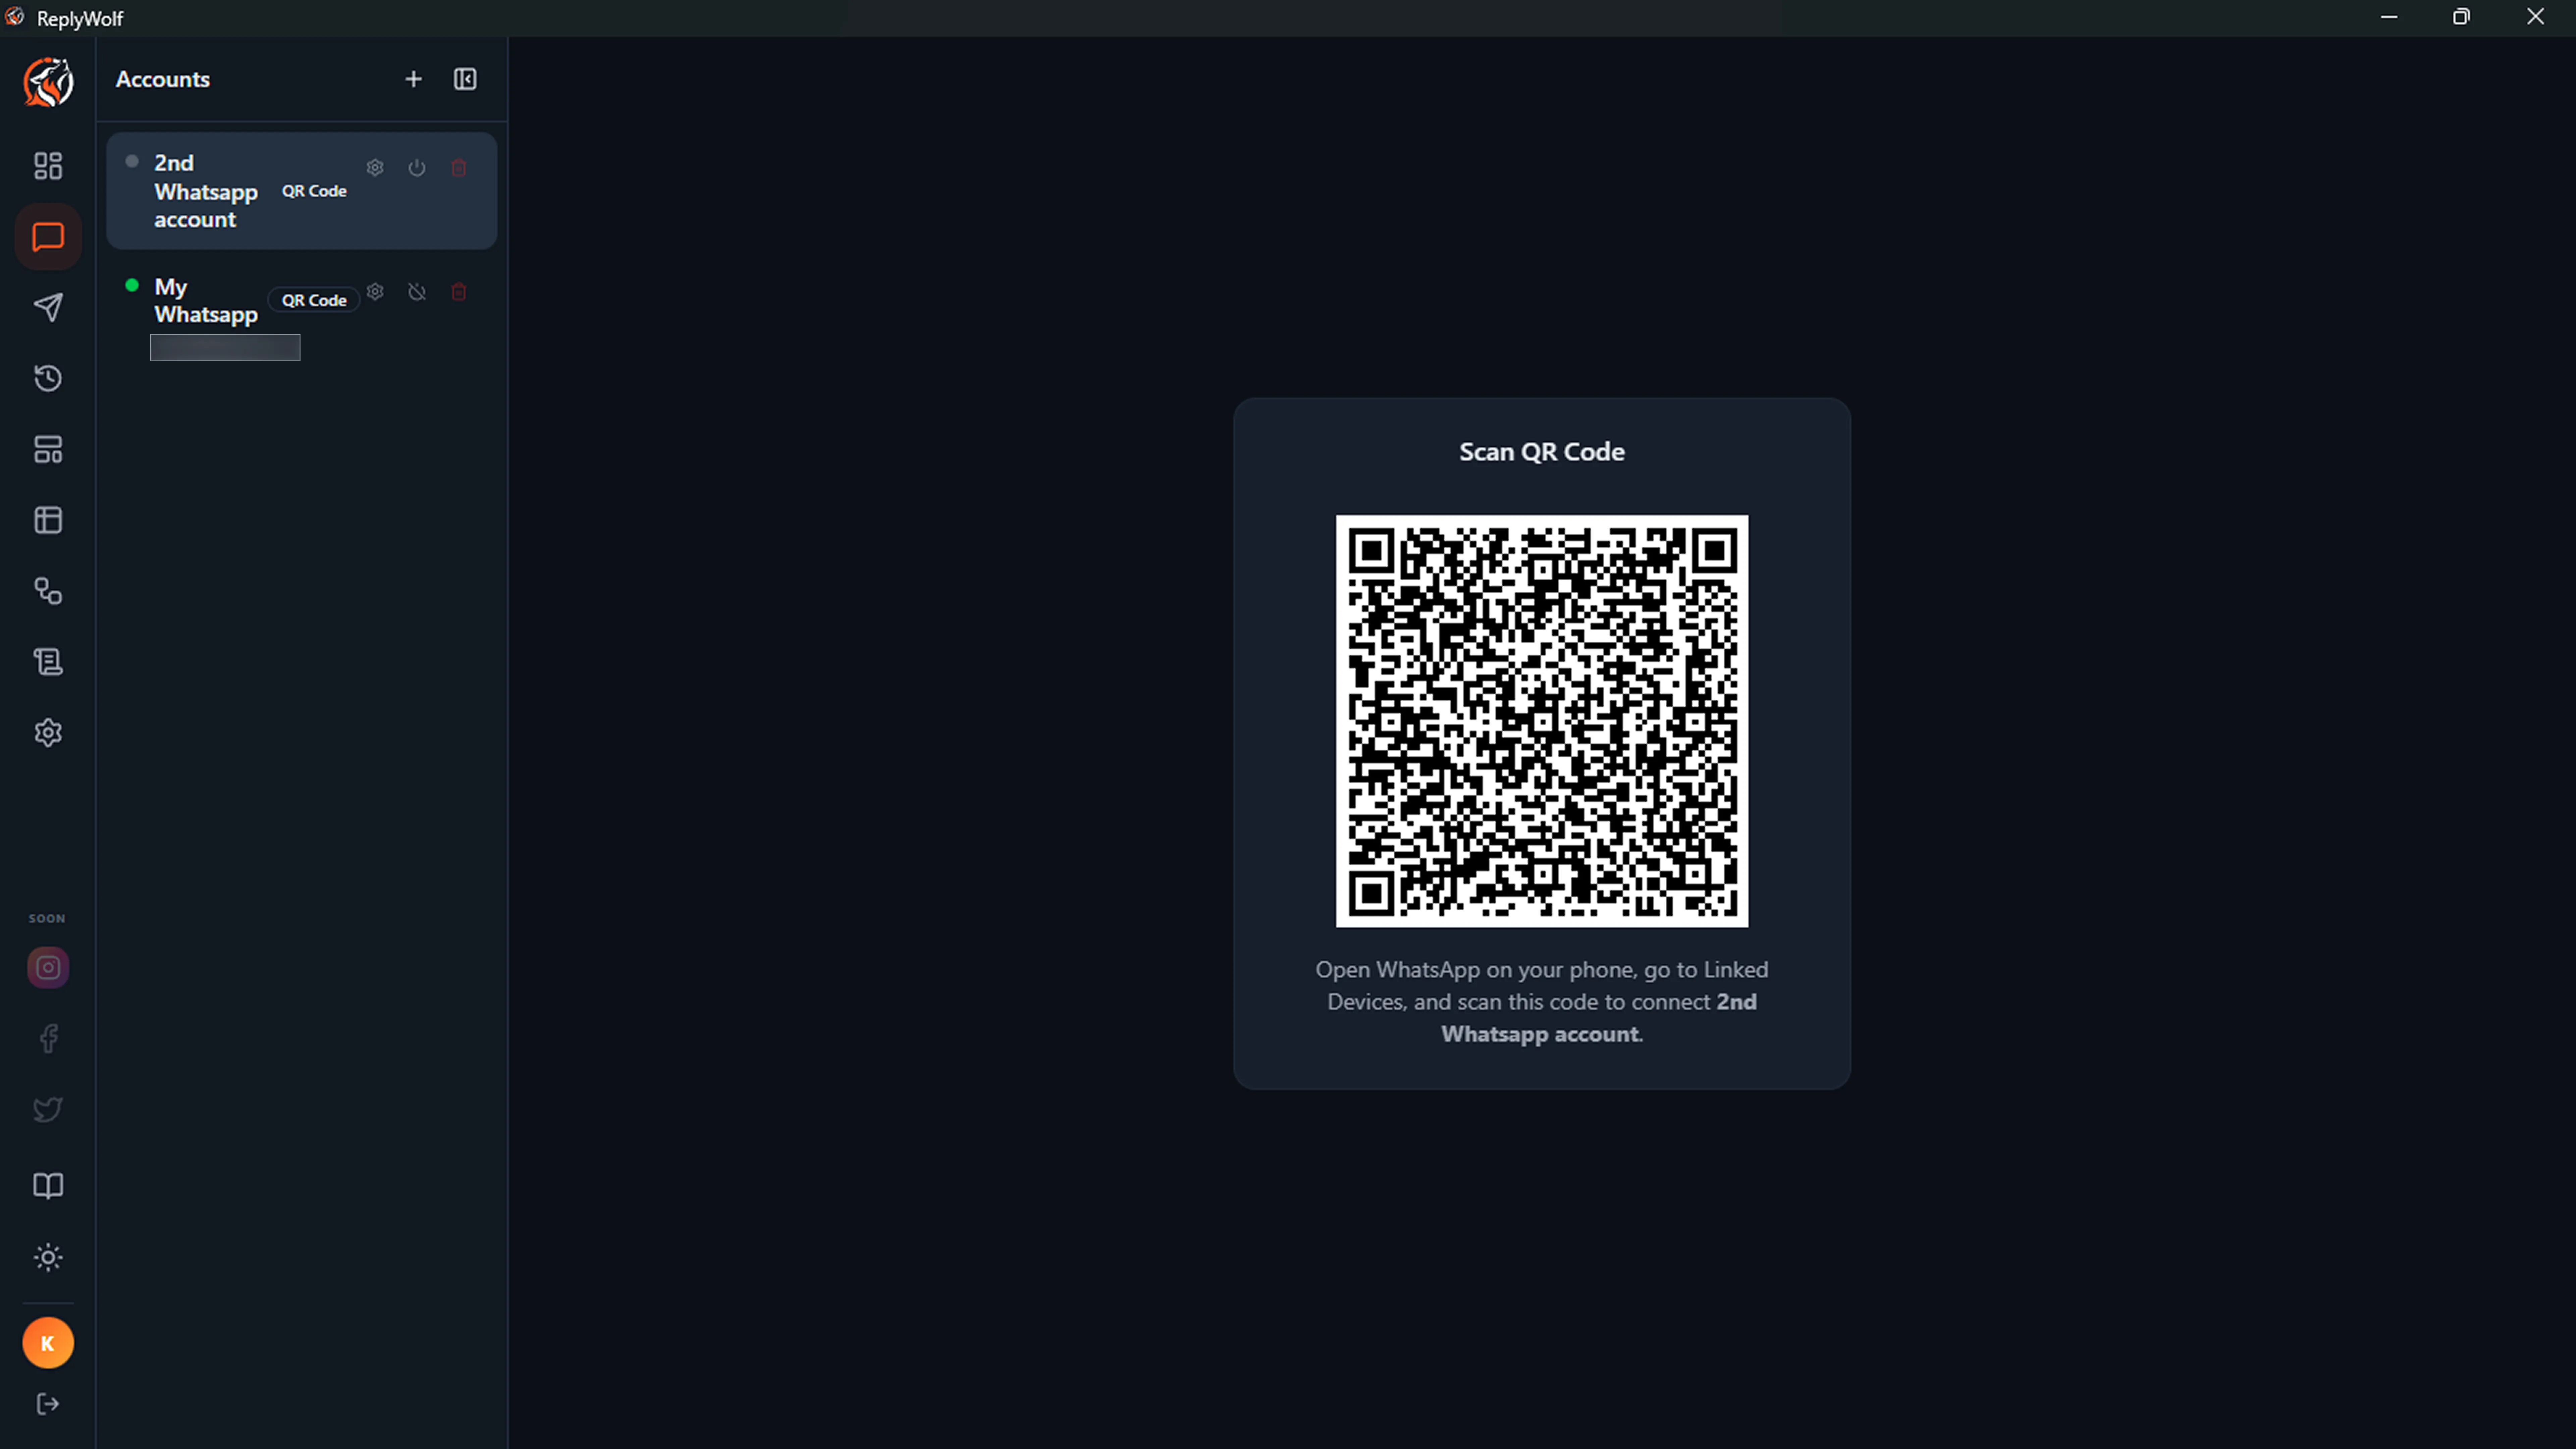
- Open WhatsApp on your phone.
- Go to Settings > Linked Devices > Link a Device.
- Scan the QR code displayed in ReplyWolf.
- After a few seconds, the account will show as connected with a green dot.
What QR Code Login Supports
- Sending and receiving text messages
- Sending and receiving media (images, videos, documents, audio)
- Auto-reply flows and AI-powered automation
- Contact lookup and WhatsApp number validation
- Bulk campaigns with text messages
What QR Code Login Does Not Support
- Template messages (these require the Cloud API)
Method 2: Cloud API (Business) -- BETA
The Cloud API connects through Meta's official WhatsApp Business API. This method is required if you want to send template messages (pre-approved message formats for marketing, utility, or authentication).
Cloud API support is currently in beta. Core features (sending/receiving messages, templates, media) work well, but you may encounter edge cases. Please report any issues.
Prerequisites
Before setting up Cloud API in ReplyWolf, you need:
- A Meta Business account with access to the WhatsApp Business API
- An Access Token from the Meta developer dashboard
- Your Phone Number ID from the WhatsApp Business API setup
- Your WABA ID (WhatsApp Business Account ID) -- needed for template management
Steps
- Open the Messages page from the sidebar.
- Click the + button in the accounts panel.
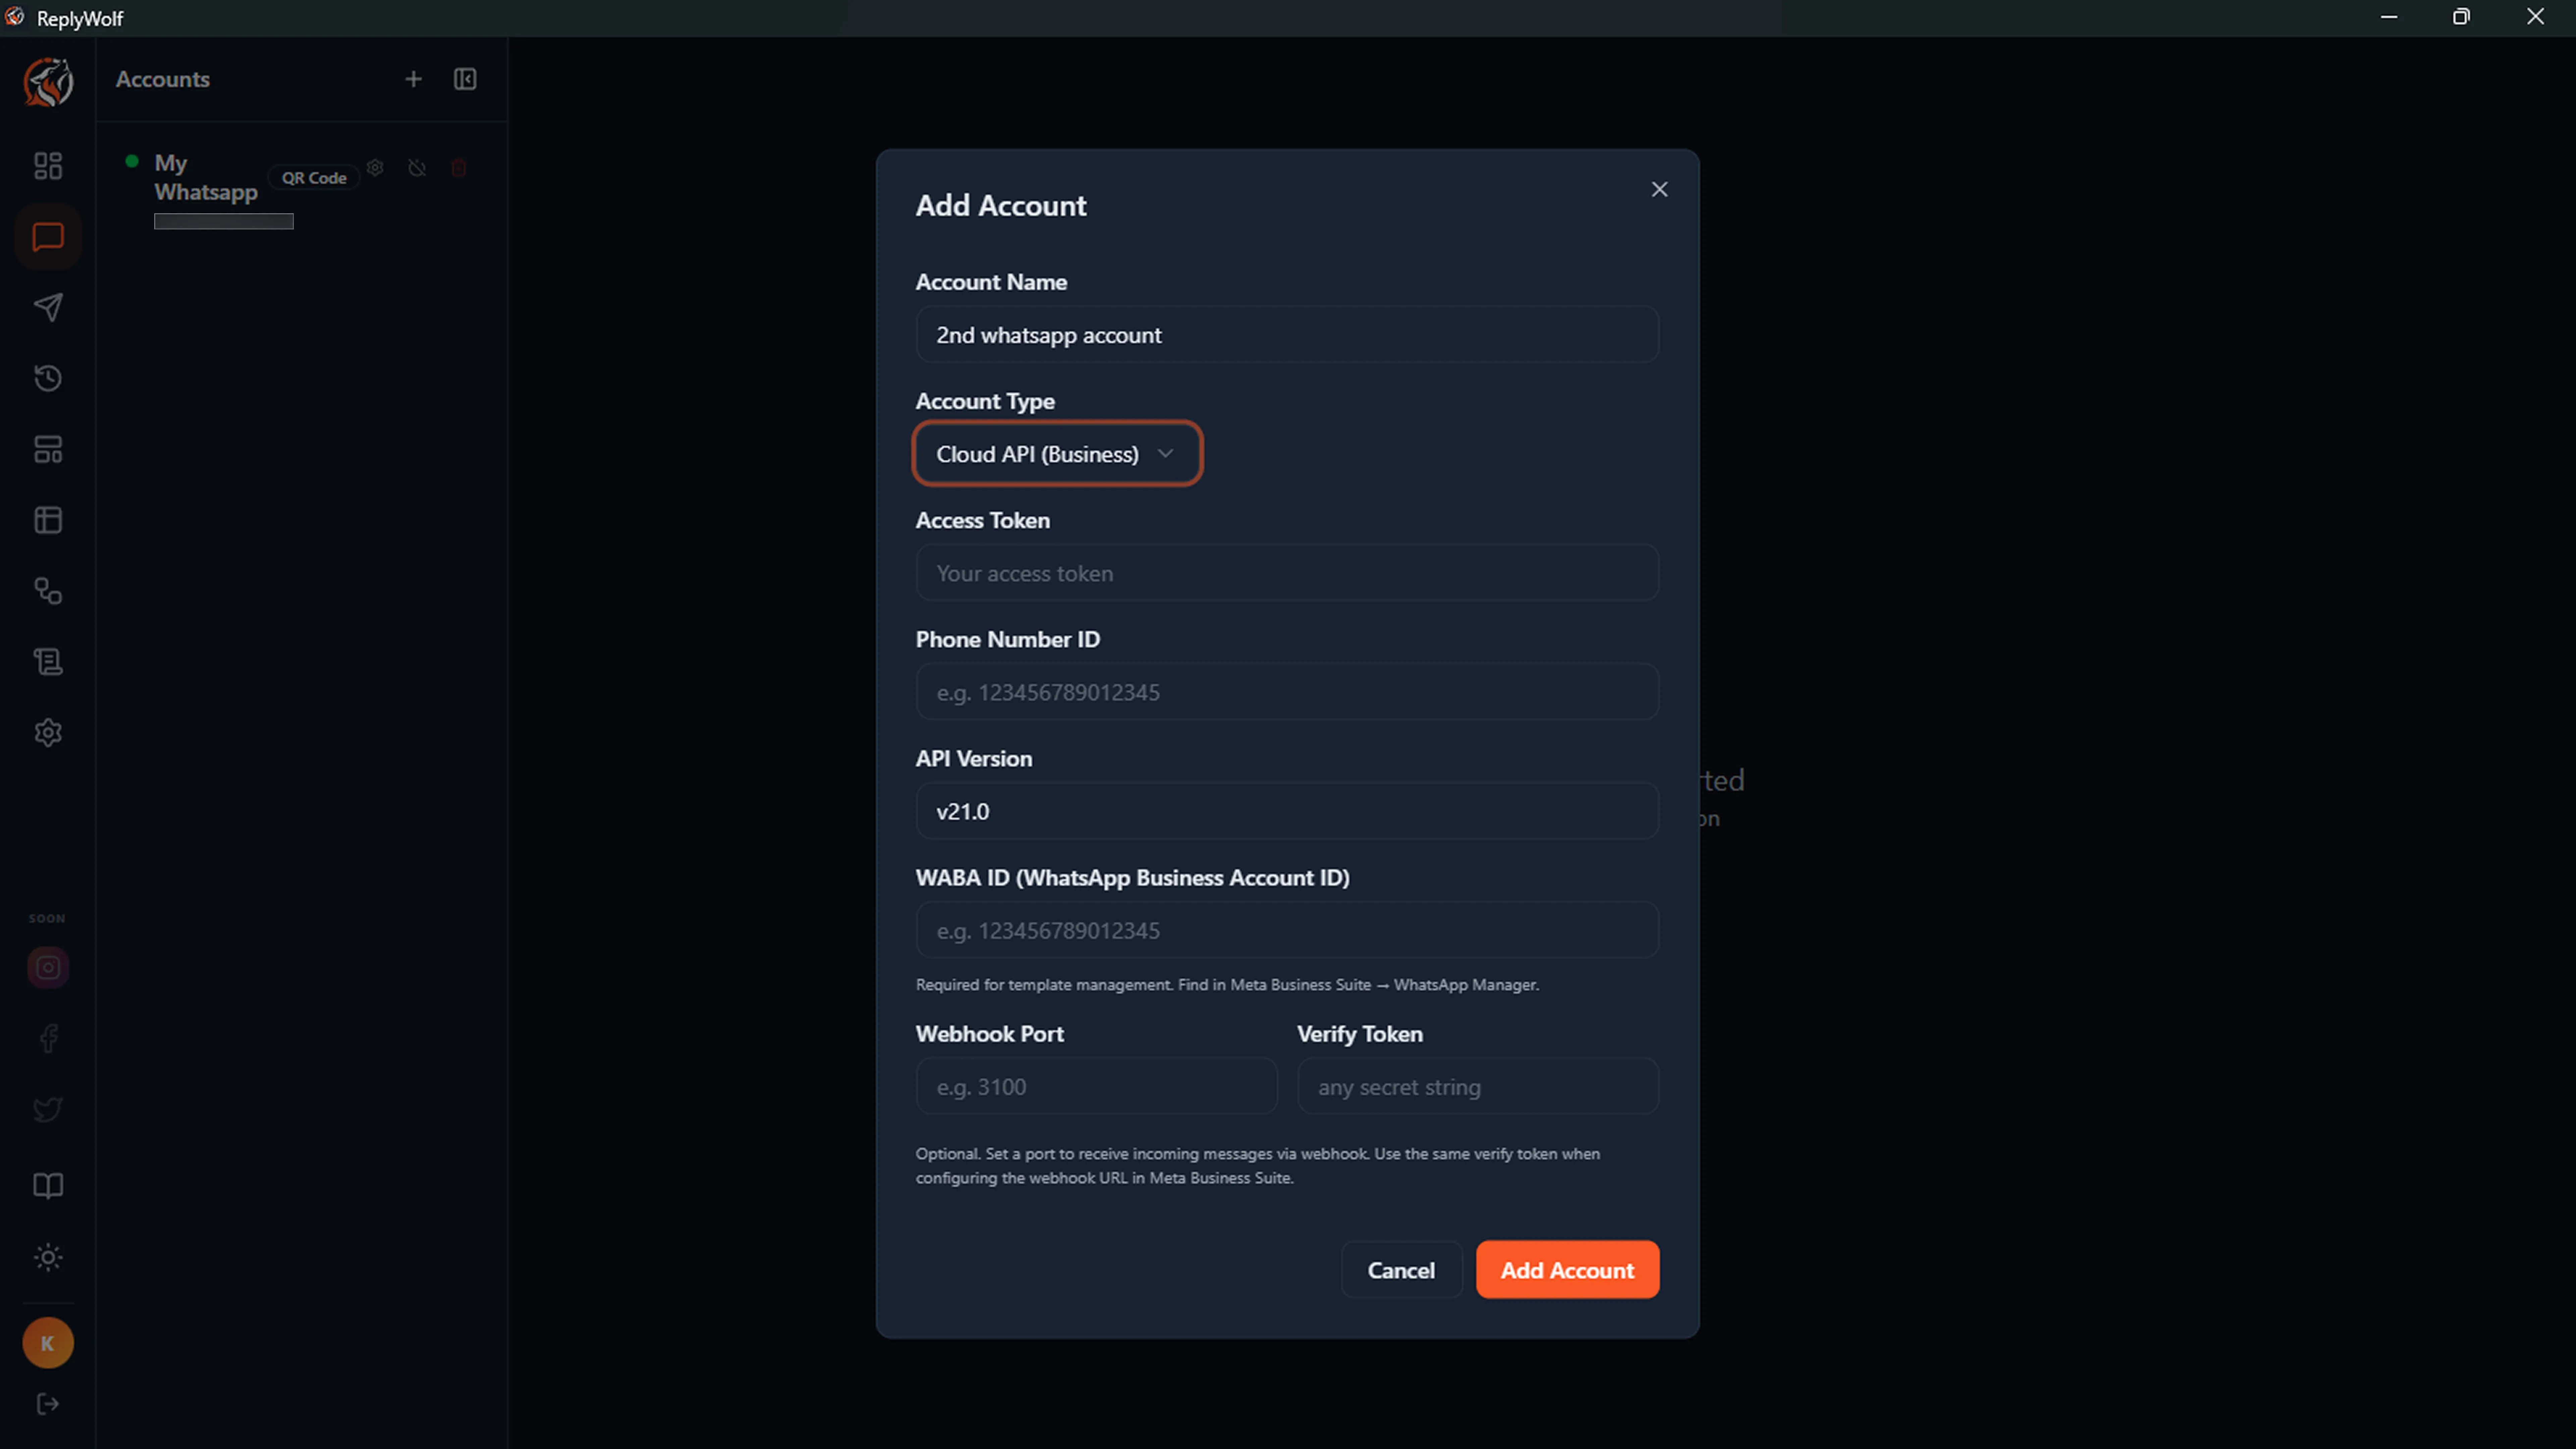
- In the Add Account dialog:
- Enter a name for this account.
- Set the Account Type to Cloud API (Business) (BETA).
- Fill in the required fields:
| Field | Description |
|---|---|
| Access Token | Your permanent or temporary access token from Meta's developer portal. This authenticates API requests. |
| Phone Number ID | The numeric ID assigned to your WhatsApp phone number. Find this in your Meta developer dashboard under WhatsApp > API Setup. |
| API Version | The Meta Graph API version to use. Defaults to v22.0. You usually don't need to change this. |
| WABA ID | Your WhatsApp Business Account ID. Required for managing and sending template messages. Find this in Meta Business Suite under WhatsApp Manager. |
- Click Add Account.
Setting Up Webhooks (to Receive Messages)
ReplyWolf uses a cloud relay to receive incoming messages -- no port forwarding or public IP required. When you add a Cloud API account, a unique webhook URL is automatically generated.
To complete the setup:
- After adding the account, click the gear icon on the account to open Account Settings.
- Copy the Callback URL and Verify Token from the webhook section.
- In Meta Business Suite, go to your app's WhatsApp > Configuration.
- Under Webhooks, click Edit.
- Paste the Callback URL and Verify Token.
- Click Verify and Save.
- Subscribe to the messages webhook field.
That's it -- incoming messages will now appear in ReplyWolf automatically.
Updating Credentials
If your access token expires or you need to change any API credentials:
- Click the gear icon on the account to open Account Settings.
- Update the fields under API Credentials (access token, phone number ID, API version, WABA ID).
- Click Save.
- Reconnect the account (disconnect and connect again) for the changes to take effect.
You do not need to delete and recreate the account -- all your chat history and settings are preserved.
Account Status Indicators
Each account in the sidebar shows its current connection status:
- Green dot -- Connected and ready to send/receive messages.
- Gray dot -- Disconnected. Click the connect button (power icon) to reconnect.
- Spinning indicator -- Reconnecting. The app is trying to restore the connection.
Auto-Connect on Startup
By default, ReplyWolf automatically connects all your WhatsApp accounts when the app starts. Accounts with saved sessions reconnect silently. Accounts that need a new QR scan will stay disconnected until you connect them manually.
You can turn this off in Settings > General > Auto-Connect by unchecking "Connect accounts on startup."
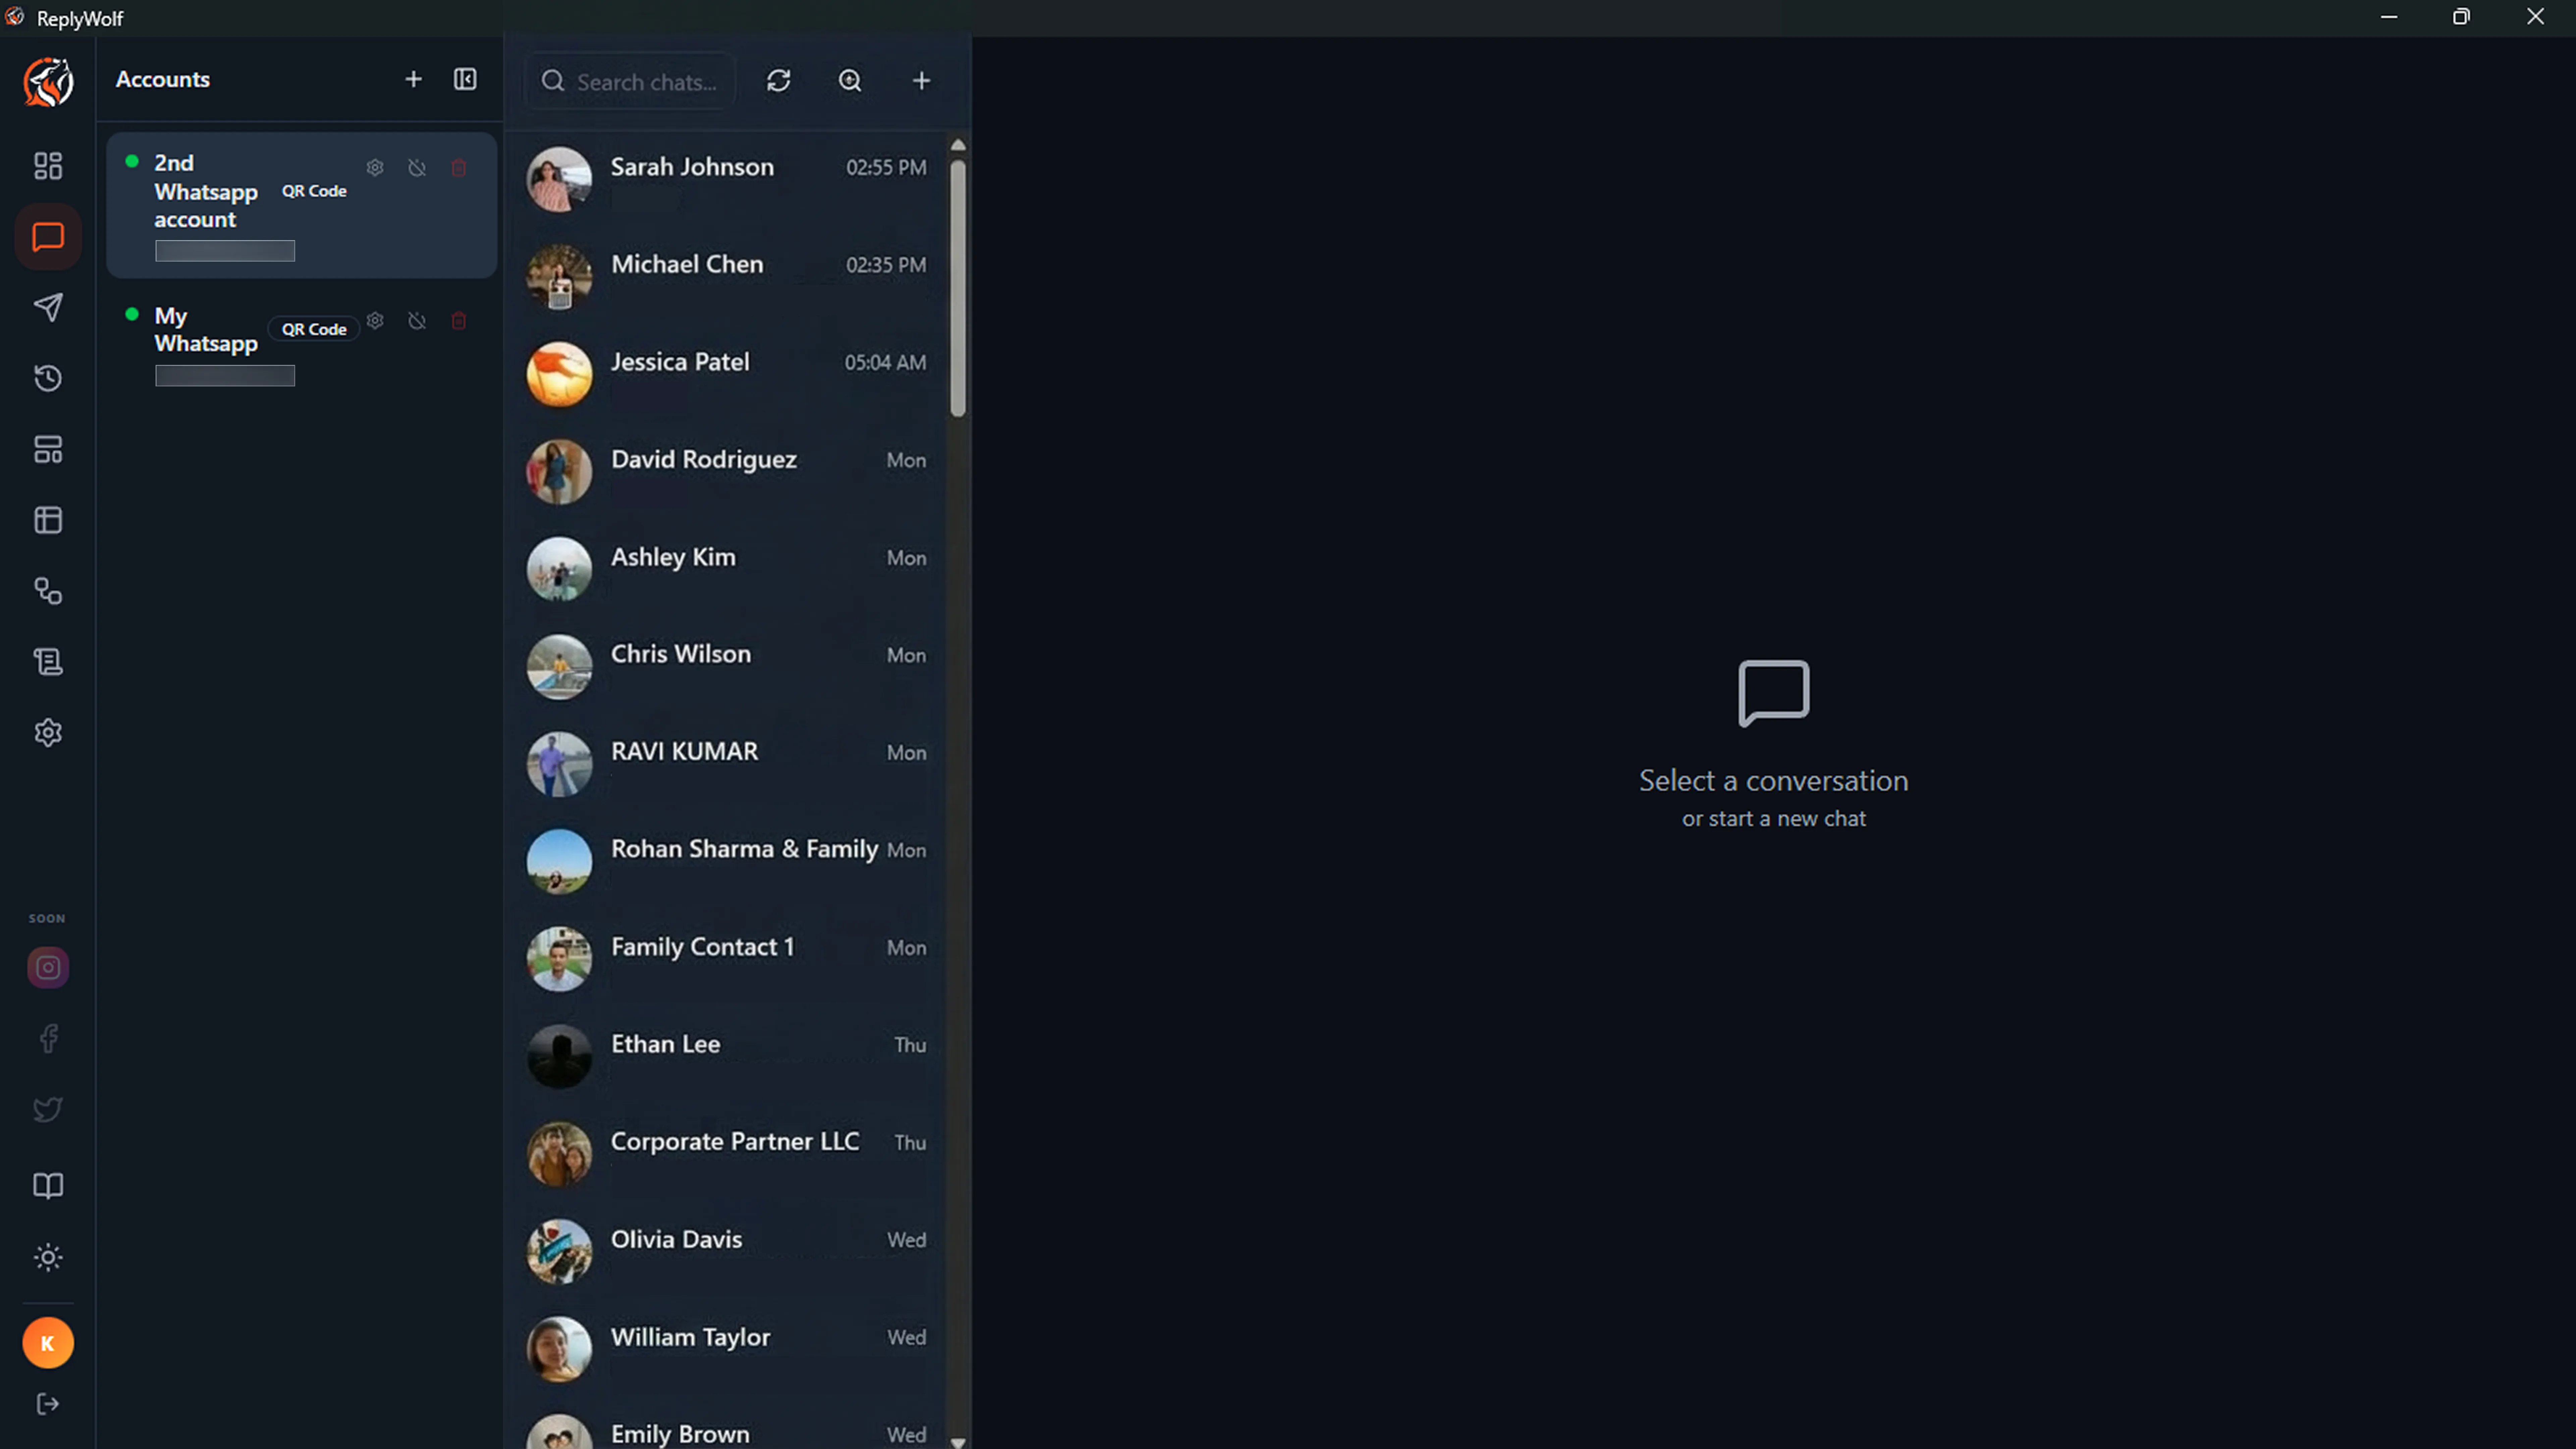
Multiple Accounts
You can add as many WhatsApp accounts as you need. Mix and match QR Code and Cloud API accounts. Each account appears in the accounts sidebar on the Messages page, and you can switch between them by clicking on an account.
Managing Accounts
Hover over an account in the sidebar to see action buttons:
- Settings (gear icon) -- View and edit account configuration.
- Connect / Disconnect (power icon) -- Toggle the connection.
- Delete (trash icon) -- Permanently remove the account and all its data. This cannot be undone.