Tables
Tables are like spreadsheets inside ReplyWolf. They store your data -- phone numbers, names, dates, and anything else you need -- and you can use them for bulk campaigns, automation flows, and AI features.

Creating a Table
Go to the Tables page and click New Table. Give it a name (you can rename it later by clicking the name in the toolbar). Your new table starts empty -- you will need to add columns before you can add rows.
Columns
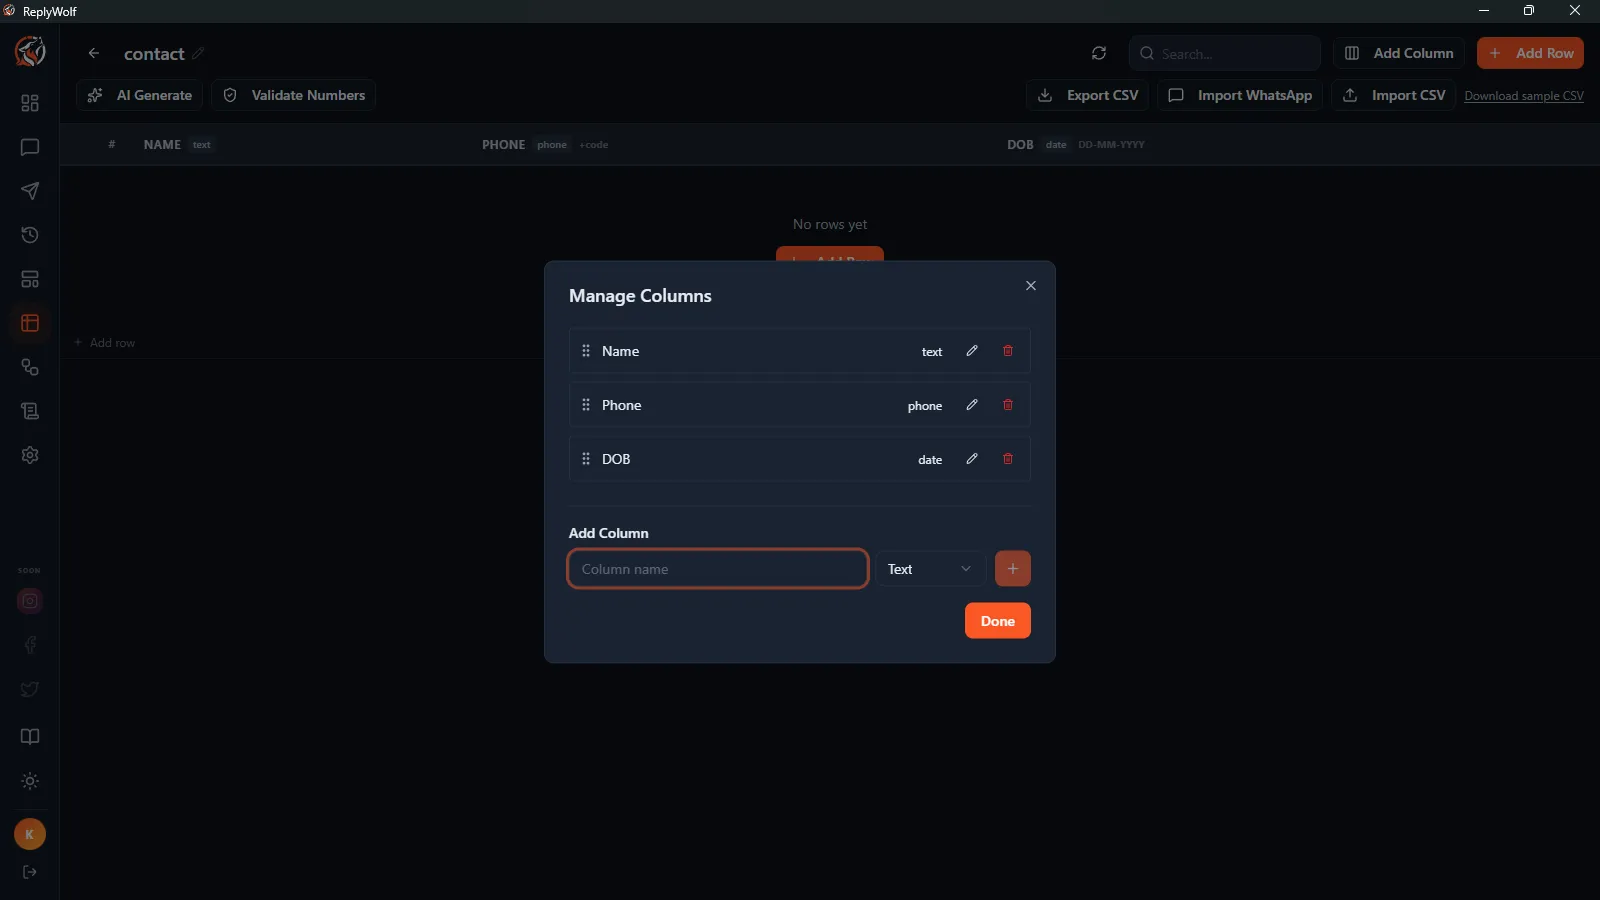
Click Add Column to open the column manager. Each column has a name and a type.
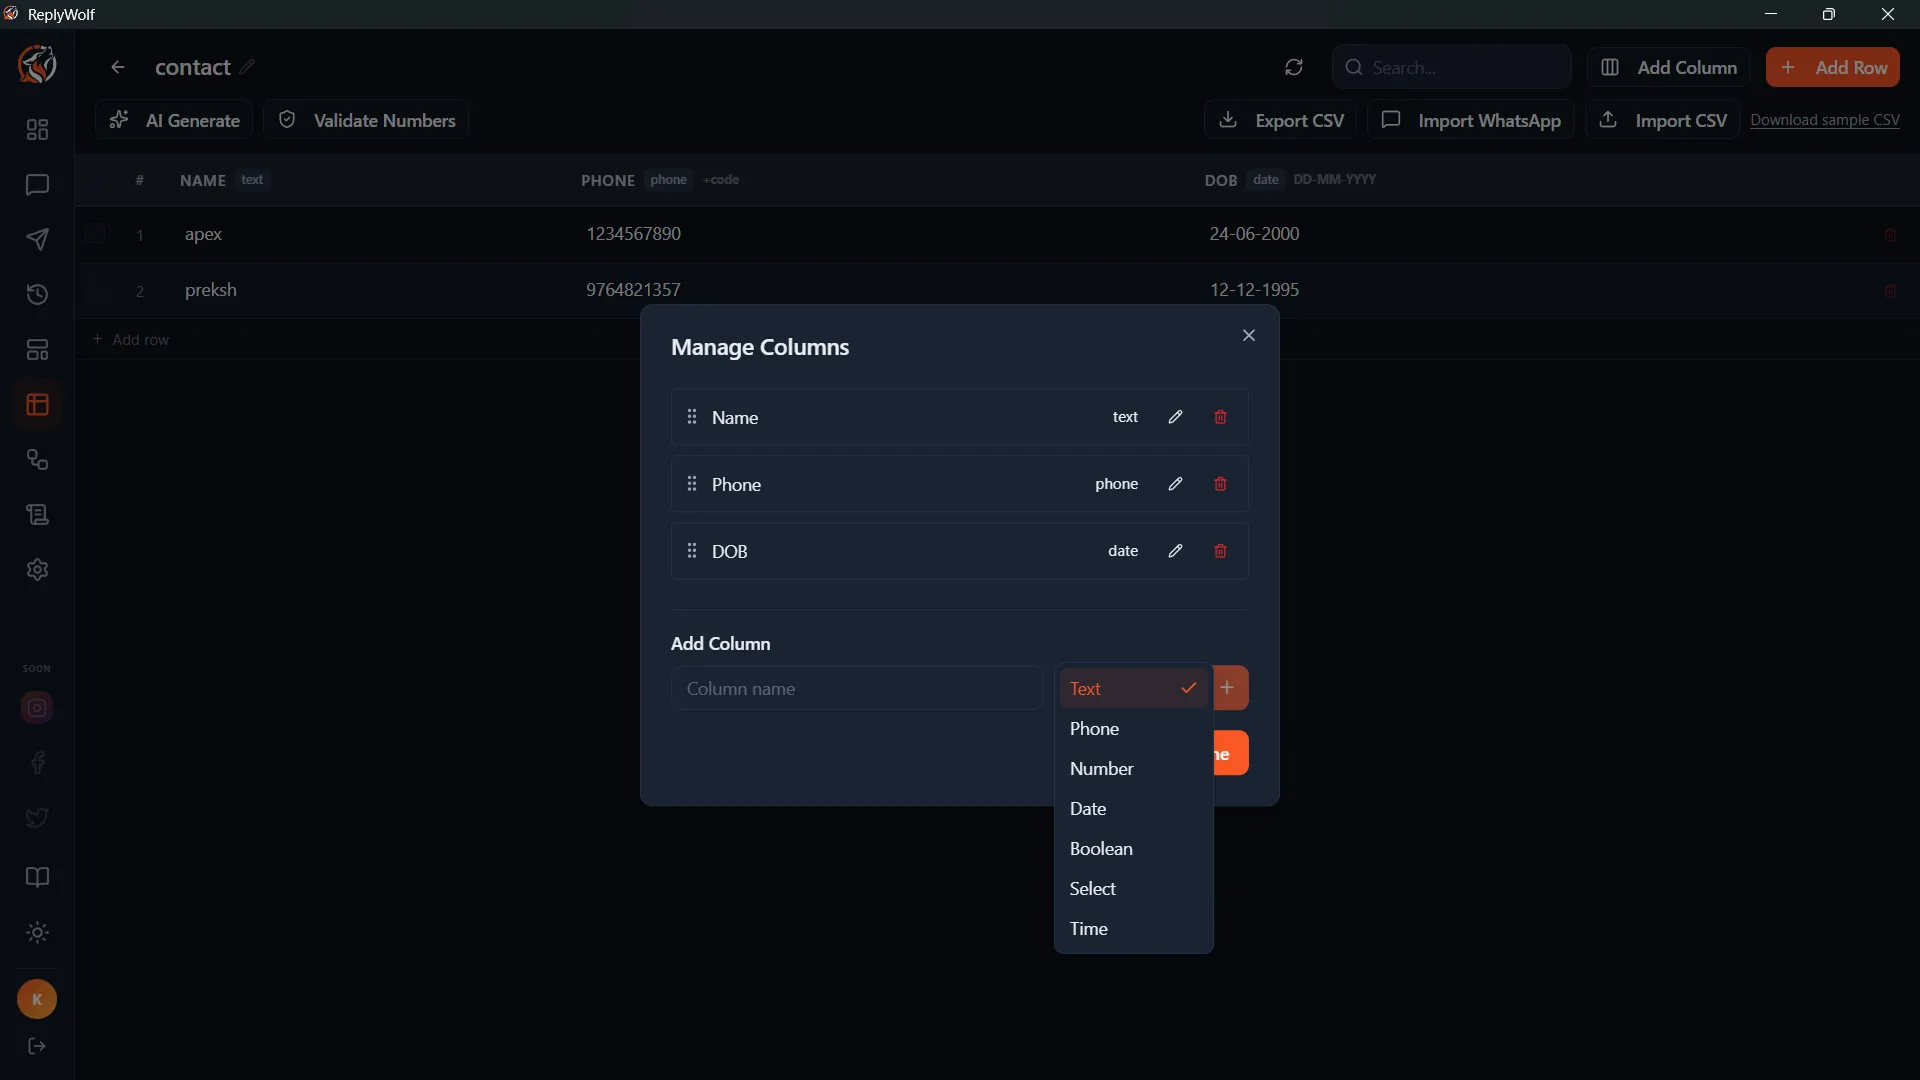
Column Types
| Type | Description | Format |
|---|---|---|
| Text | Any text value | Free-form text |
| Phone | Phone number with country code | Country code + number, e.g. 919876543210 |
| Date | A calendar date | DD-MM-YYYY, e.g. 15-03-1990 |
| Time | A time of day in 24-hour format | HH:MM, e.g. 14:30 |
| Number | A numeric value | Any number |
| Boolean | Yes or No | Displays as a clickable Yes/No pill |
| Select | A dropdown with predefined options | You define the options when creating the column |
Format hints are shown in column headers so you always know what format is expected.
Adding Rows
There are several ways to add rows to a table.
Add Rows Manually
Click the Add Row button in the toolbar. This adds a blank row that you can fill in by clicking each cell.
Import from CSV
Click Import CSV to upload or paste a CSV file. The import uses a two-step flow:
-
Preview -- After selecting your CSV data, date format, and country code, click Preview. ReplyWolf parses the file and shows you a preview table with the first 20 rows, a validation summary (valid rows, errors, unmatched columns), and any formatting issues it detected. Rows with problems are marked with a warning icon.
-
Import -- Review the preview, then click Import N Rows to commit. If something looks wrong, click Back to return to step 1 and adjust your data. Nothing is written to your table until you confirm.
Not sure about the format? Click Download sample CSV to get an example file showing the expected layout, including examples for phone numbers, dates, and times.
Import from WhatsApp
Click Import WhatsApp to pull contacts directly from your WhatsApp conversations into the table. This is handy if you want to build a list from people who have already messaged you.
Editing Cells
Click any cell to edit it. Depending on the column type, you will get:
- A text input for text, phone, and number columns
- A date picker for date columns
- A time picker for time columns
- A dropdown for select columns
- A clickable Yes/No pill for boolean columns (just click to toggle)
Press Enter to save or Escape to cancel.
Search and Filter
Use the search bar in the toolbar to filter rows. It searches across all column values, so typing a phone number, name, or any other value will show matching rows.
Validate Numbers
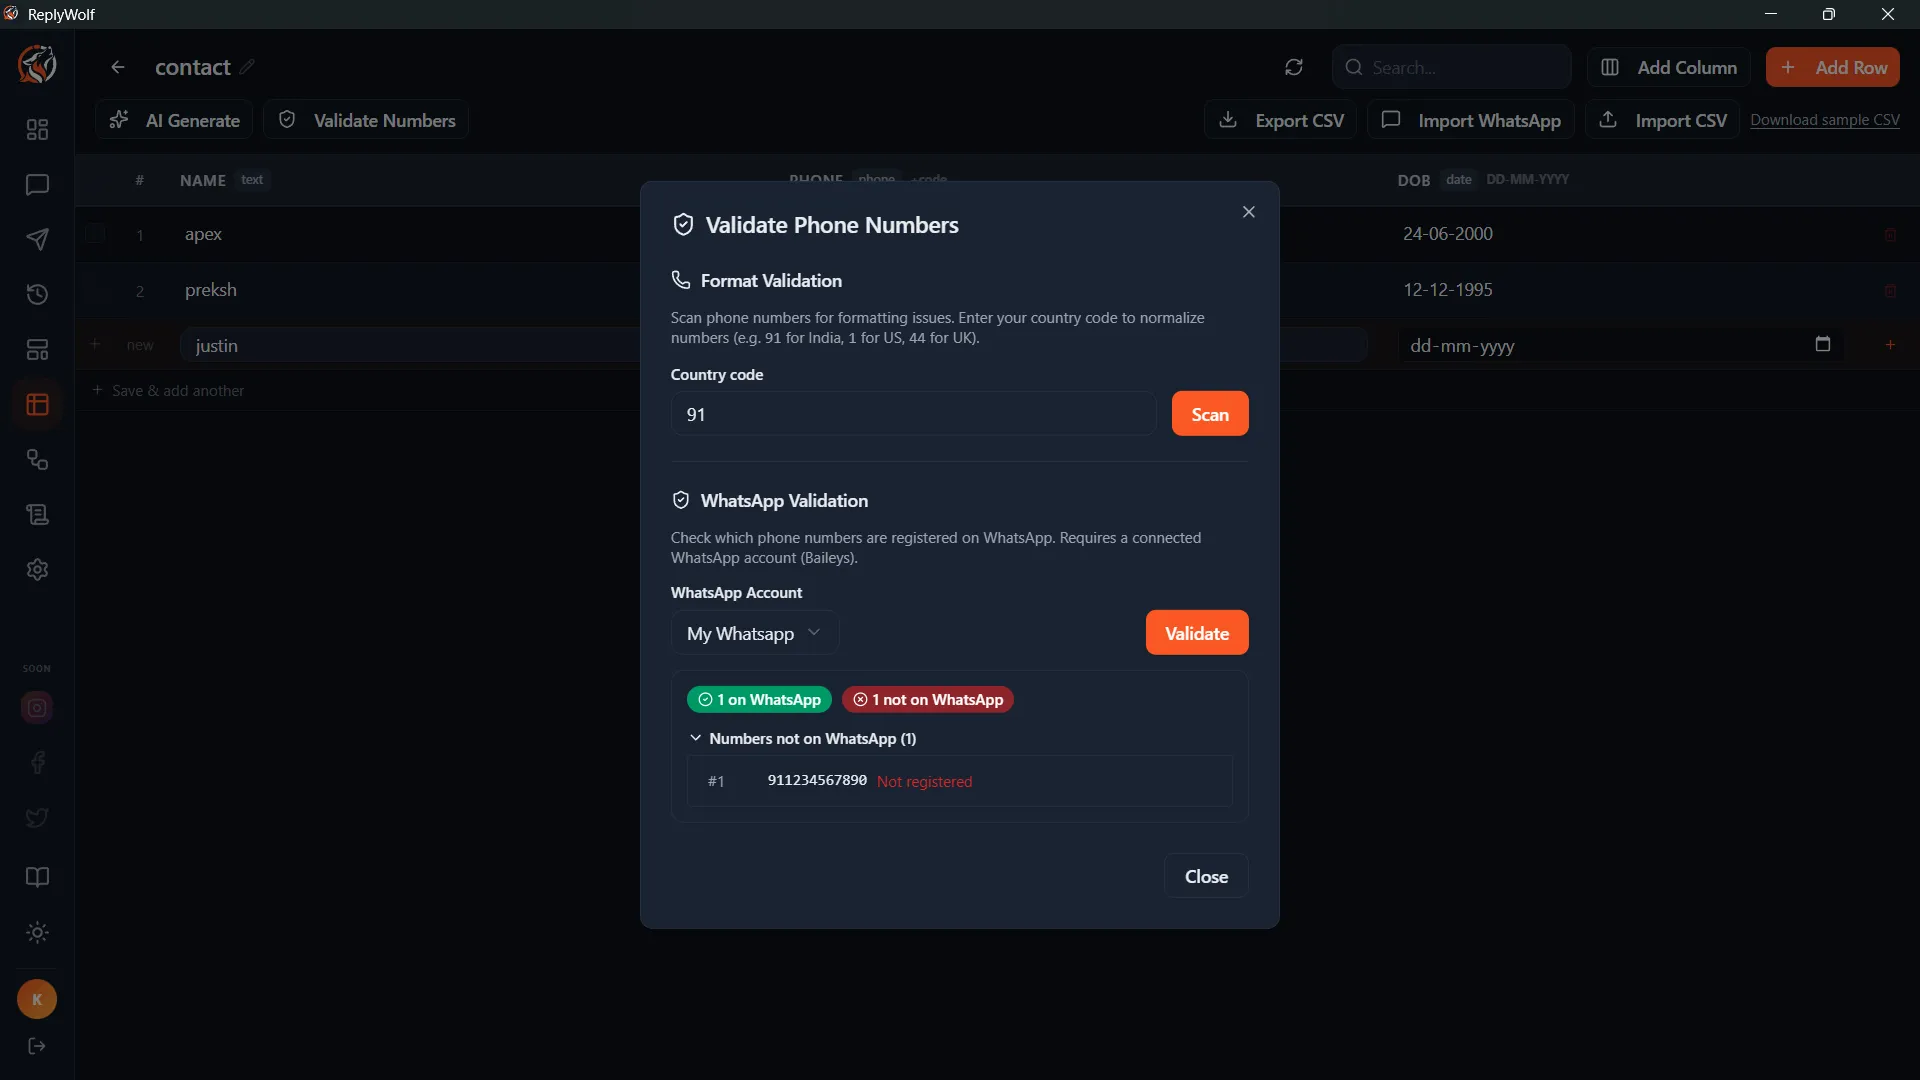
Click Validate Numbers to open the phone number validation tool. This helps you clean up your data before sending a campaign.
Format Validation
- Fix formatting -- Automatically correct common formatting issues in phone numbers
- Find duplicates -- Identify and review duplicate phone numbers
- Find invalid numbers -- Spot phone numbers that do not match expected formats (missing country code, too short, etc.)
WhatsApp Validation
- Check WhatsApp registration -- Verify which phone numbers are actually registered on WhatsApp, so you do not waste messages on numbers that cannot receive them
AI Generate
Click AI Generate to use AI to fill in column values based on other columns in your table. For example, if you have a "name" column and a "greeting" column, AI can generate a personalized greeting for each row based on the name and other data.
Date and Time Format Warnings
If ReplyWolf detects dates or times that are not in the expected format (e.g. dates in YYYY-MM-DD instead of DD-MM-YYYY, or times not in 24-hour format), a warning banner appears at the top of the table. Click Fix All to automatically correct the formats.
Selecting and Deleting Rows
Use the checkboxes on the left side of each row to select rows. You can:
- Click individual checkboxes to select specific rows
- Click the checkbox in the header to select all visible rows
- Once rows are selected, click Delete N rows to bulk-delete them
Export to CSV
Click Export CSV in the toolbar to download the entire table as a CSV file.
Pagination
For large tables, rows are paginated. Use the Previous and Next buttons at the bottom to navigate between pages. The footer shows which rows you are viewing (e.g. "Showing 1-100 of 5,432 rows").